Flower Box Installation
Seasonal Options
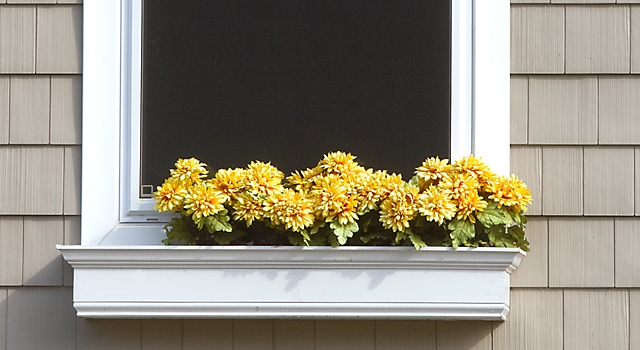
Fall - Oranges, reds and yellows are traditional fall colors that stand out and help set the seasonal mood. Consider a fall-themed flower box featuring foliage bouquets.
Winter - Poinsettias are always a go-to option for the holiday season. The bold reds and soft cream whites stand out against homes of any color and style. Additional options include a collection of miniature noble fir trees and holly, or colorful lettuce heads in cool greens and purples.
Spring - Spring is the season for peonies, daisies and tulips. These delicate flowers come in a variety of bright, vibrant colors that can be mixed and matched for an eye-catching eclectic collection.
Summer - Whether you live in a damp or dry environment, succulents are an on-trend summer option that require little care and come in a variety of sizes, shapes and colors.
Build a Flower Box
Before getting started, head to a local hardware retailer and ask about affordable wood options that are suited for your weather conditions (cedar is a great choice!).
Request pre-sanded slats in the sizes outlined in this chart:

Quick Tip: Leaving space in between the support slats and the bottom piece allows water to drain and reduces mold, mildew and deterioration.
Instructions
- Lay out one front/back piece and hold one end piece so that the two create an L. Use a drill to attach the end piece to the front/back piece.
- Repeat steps one and two for the second front/back and end pieces.
- Attach the three bottom supports to the interior of the first L, making sure that the supports are evenly spaced. Attach by drilling six holes into the front/back piece that align with the corners of each bottom support.
- Now, flip over the frame so that the supports are on the bottom and attach the second L shape to make the box. Use a drill to screw in the two attaching front/back and end pieces. Then, use a drill to secure each support piece to the not-yet-attached front/back piece.
- Slide the bottom piece into the box, and use a drill to screw and attach each support piece to the bottom piece.


