DIY Hanging Plants
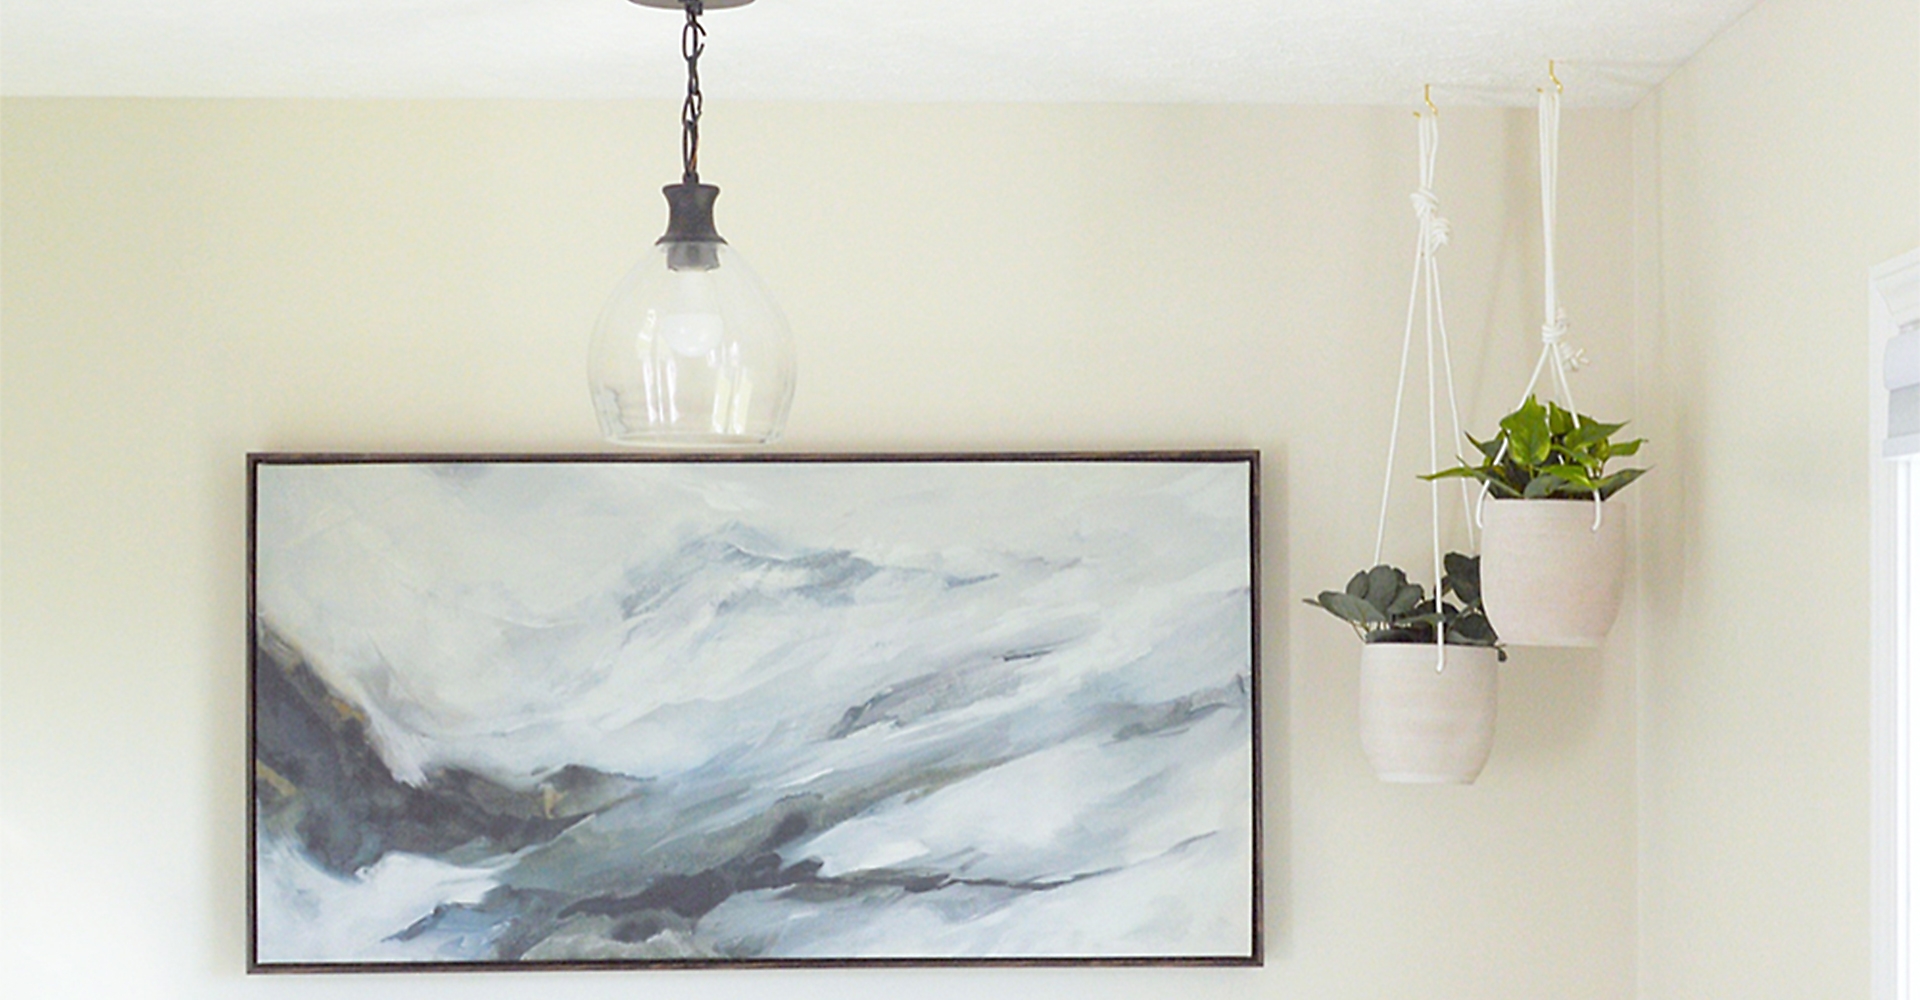
Refreshing your office space with touches of greenery can create an inspiring and welcoming feeling, setting the stage for a more enjoyable workspace. Follow the steps below for a quick DIY of how to add some hanging greenery to your office space with National Hardware hooks.
-
Difficulty:Beginner
-
Team:1
-
Time:1 Hour
Deciding What to Hang
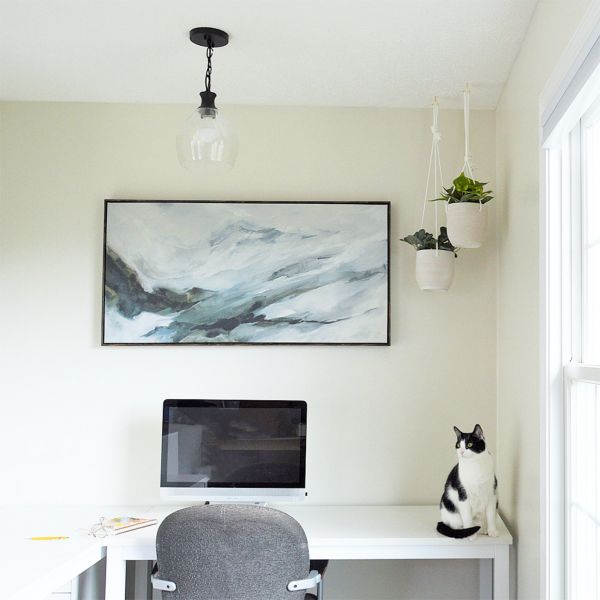
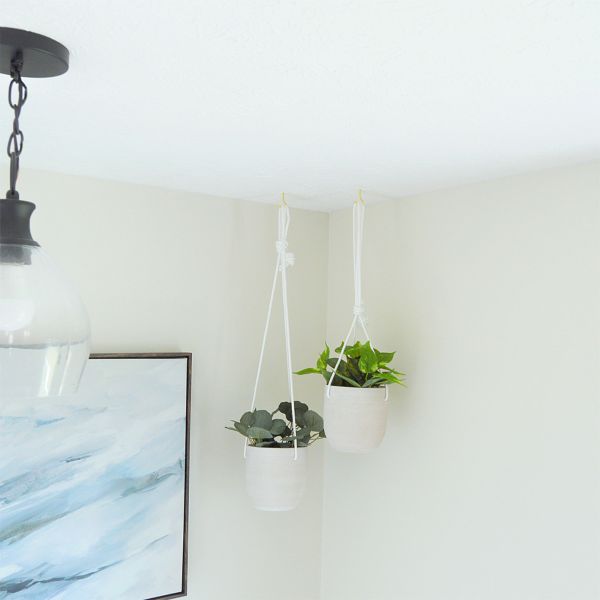
Adding a touch of greenery to your home office can create a more inviting or inspiring space. To counteract the need of keeping as much desk space open as possible for work, opt for hanging your plants versus setting them on the desk. You get the touch of greenery in the space without the plant getting in the way of workflow. Take a look at your space and decide the best location to hang your plants. This will vary with every space, but keep in mind the width of your pots and plant overhang. You will want to position your hook to be centered on your pot allowing an estimated 2 inch additional space between your plant and wall so it will hang loosely and away from the wall.
Marking the Spot
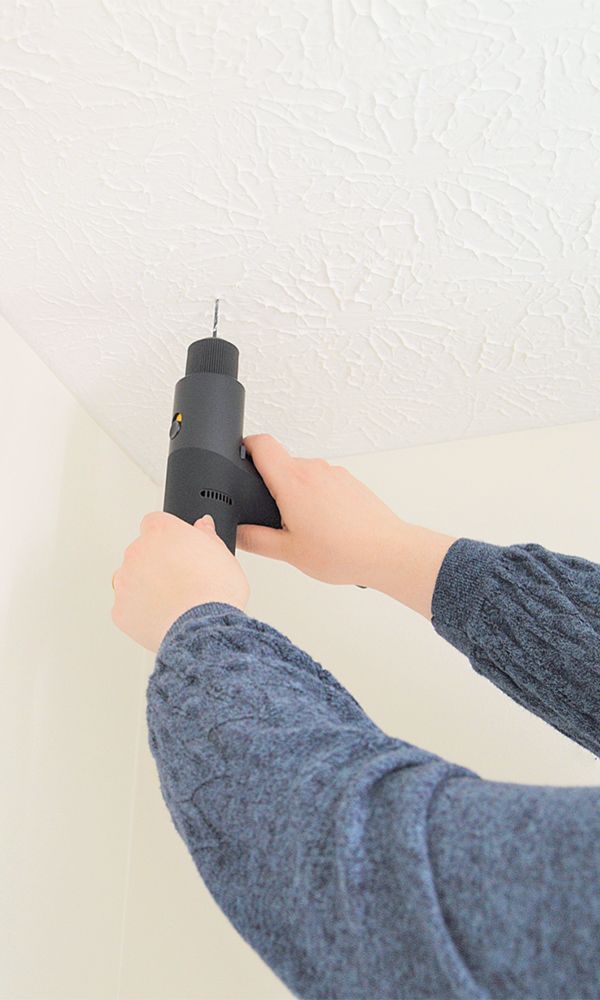
Using a pencil and measuring tape, draw a tiny spot on your ceiling marking the location for the hook. Remember to put this at the center of your pot plus an estimated two extra inches over to give your pot and plant space between your wall and the pot.
Installing the Hooks
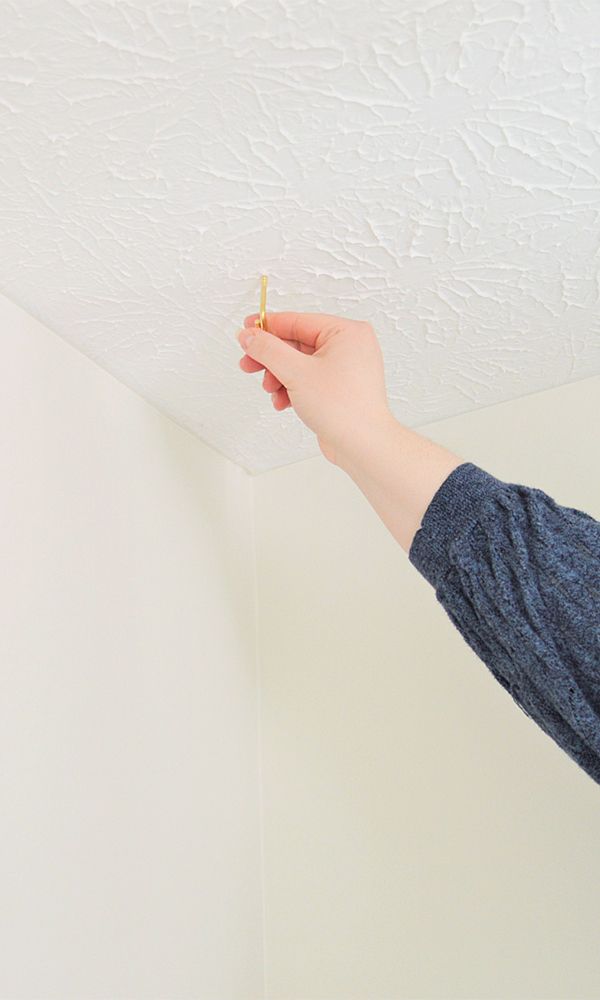
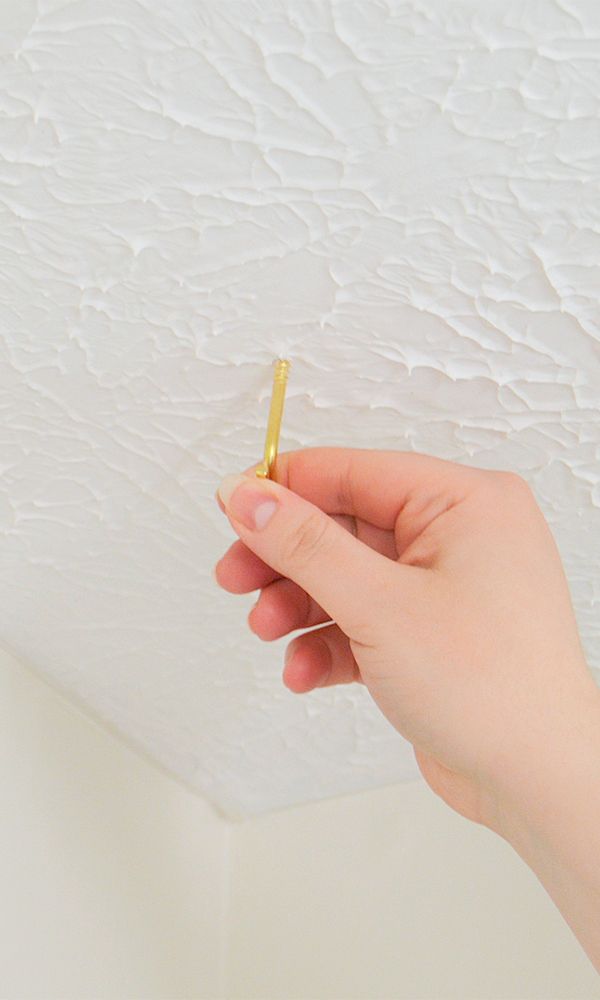
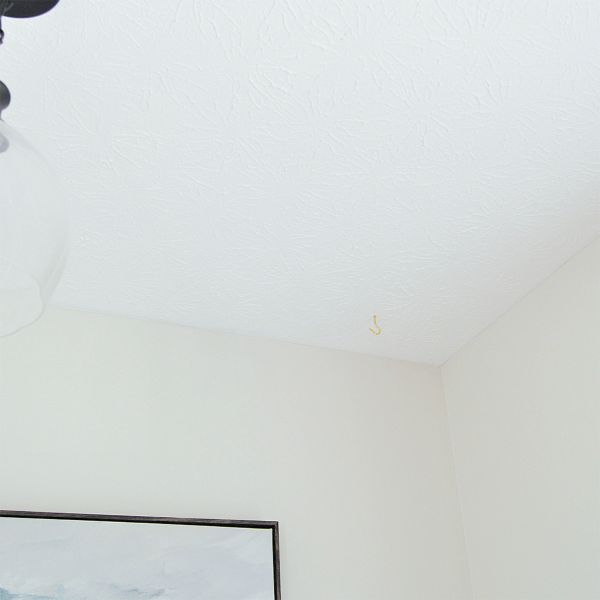
Hanging your Pots
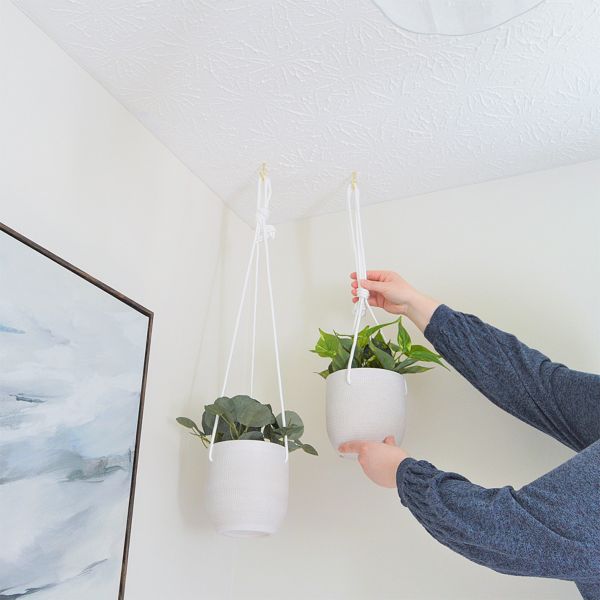
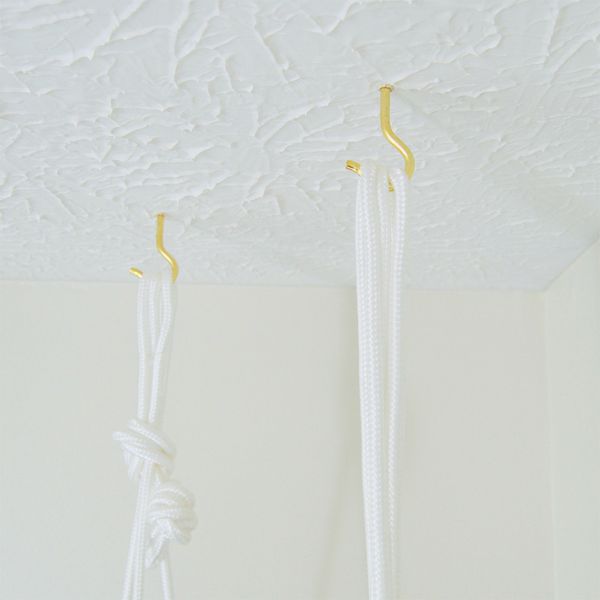
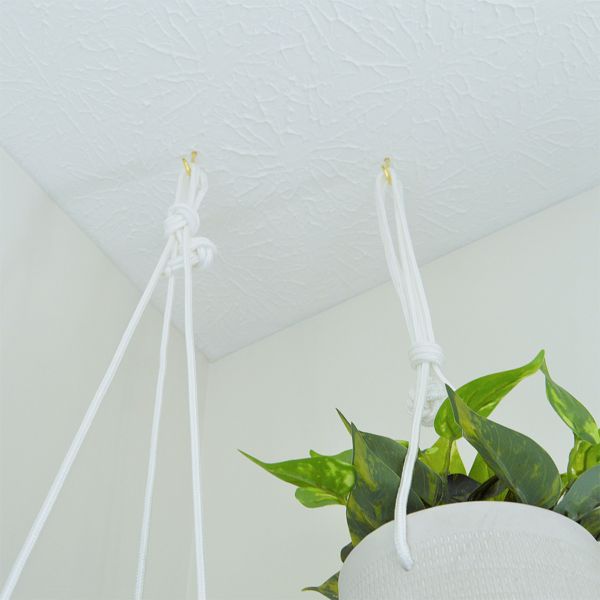
Once the Hooks are installed, it's time to hang your plants! Using the chain or rope that is securely attached to your pots, loop onto the National Hardware Ceiling Hook. Once it feels secure, gently let go and allow it to hang. You are all done and can now enjoy your new plants in your space!
Hardware
- Related Product Categories:
- Plant Hangers & Chains
- Plant Hanging Hardware


